반응형

Swagger 로 문서 자동화하는 방법
여러 명의 개발자와 함께 협업을 하기 위해서는 문서작업이 필요하다. 그렇다고 문서작업에 공을 들이기엔 시간이 많이 소요되므로, 개발자를 위한 문서 자동화가 나왔다. API Docs 를 자동으로 만들어주는 것이다.
Swagger
Swagger란 간단한 설정으로 프로젝트에서 생성한 URL들을 HTML 화면으로 확인할 수 있게 만들어주는 프로젝트이다. Swagger가 적용될 경우 설정된 URL 리스트들의 목록을 바로 확인할 수 있다. 설정부터 시작해보자.
1. build.gradle 에 의존성 추가
https://mvnrepository.com/ 라는 사이트에서 의존성을 검색하여 추가하였다.
implementation 'io.springfox:springfox-boot-starter:3.0.0'
implementation 'io.springfox:springfox-swagger2:3.0.0'
implementation 'io.springfox:springfox-swagger-ui:3.0.0'
2. 프로젝트에 Swagger 설정 Bean을 등록하기
SwaggerConfig.java 라는 파일을 생성하여 아래의 코드를 추가한다.
@Configuration
@EnableSwagger2
public class SwaggerConfig {

    @Bean
    public Docket api() {
        return new Docket(DocumentationType.SWAGGER_2)
                .select()
                .apis(RequestHandlerSelectors.any()) // 현재 RequestMapping으로 할당된 모든 URL 리스트를 추출
                .paths(PathSelectors.ant("/api/**")) // 그중 /api/** 인 URL들만 필터링
                .build();
    }
}
PathSelector.ant에 "/api/**" 는 URL 이 api 로 시작하는 것만 노출되도록 세팅되어있는데, 필요 시 수정하면 된다.
swageer 3.0 버전 아래 에러가 발생으로 인한 조치 방법
org.springframework.context.ApplicationContextException: Failed to start bean 'documentationPluginsBootstrapper'; nested exception is java.lang.NullPointerExceptionapplication.yml 에 아래 내용 추가
spring:
    mvc:
        pathmatch:
          matching-strategy: ant_path_matcher
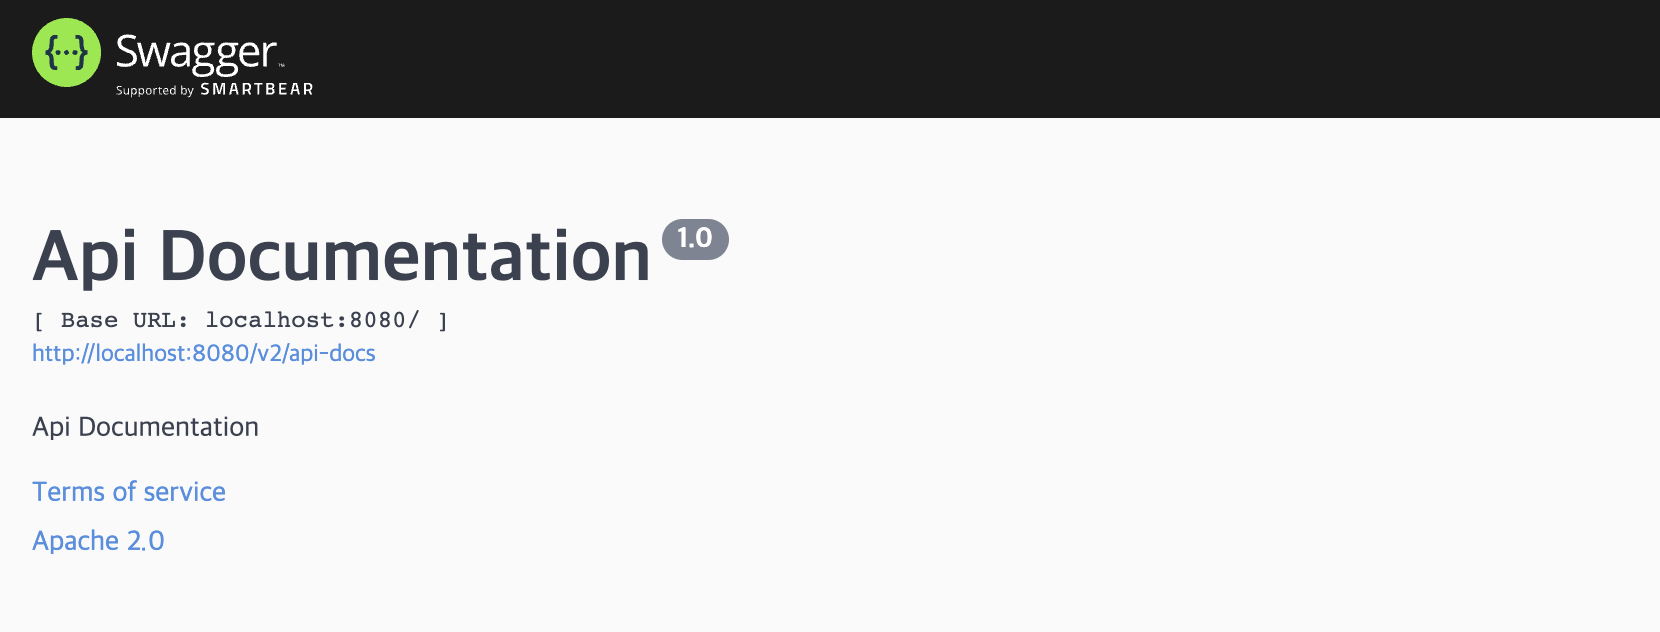
3. swagger-ui 확인
http://localhost:8080/swagger-ui/index.html 또는 http://localhost:8080/swagger-ui/ 로 접속
반응형
'Etc > Etc' 카테고리의 다른 글
| [Etc] Intellij Gradle Project 셋팅 (2) | 2023.09.12 |
|---|---|
| [Etc] MacBook M2 초기 환경설정 (개발자 필수 설치파일 추천) (0) | 2023.05.22 |
| [MAC] shell 파일 생성하기 (0) | 2023.02.17 |
| [Etc] Gibibyte(GiB) 와 Gigabyte(GB) (0) | 2023.02.14 |
| M1 MacBook 에 Homebrew 설치하기 (0) | 2022.06.23 |

최근댓글